Using colored pencils on wood is a fascinating and often overlooked art form. Unlike traditional paper, wood offers a unique surface that, while challenging, can result in stunning, textured artwork. Many artists and hobbyists wonder if it’s truly feasible to use colored pencils on wood. The answer is a resounding yes, but it comes with its own set of techniques and considerations. In this guide, we will explore how to effectively use colored pencils on wood, addressing common concerns and providing practical solutions.
Exploring Colored Pencils on Wood
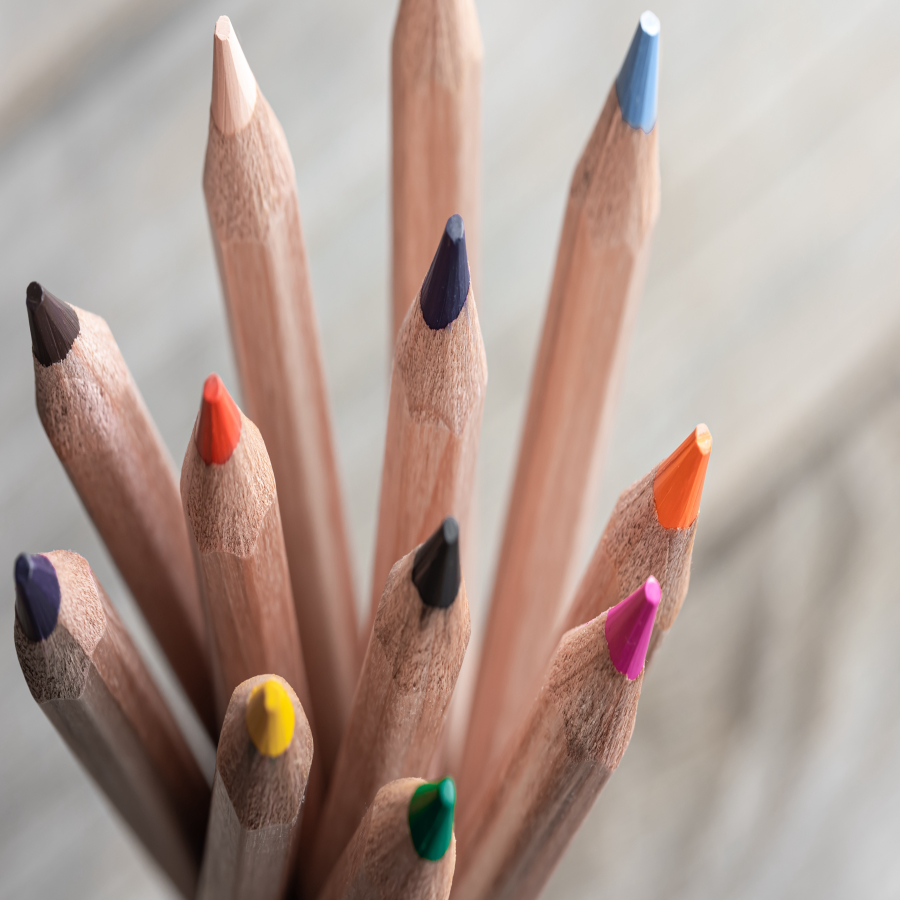
Colored pencils are a staple in many artists’ toolkits, but when it comes to using them on wood, some specific challenges arise. Cpencils.com offers a variety of colored pencils that can be used on different surfaces, including wood. The primary concern is whether the pencils will adhere well to the wood’s surface and whether the colors will remain vibrant.
Wood grain and texture can significantly affect how colored pencils perform. Unlike paper, which is smooth and uniform, wood has natural variations that can either enhance or hinder your artwork. For instance, softer woods may absorb the color differently compared to harder woods. Furthermore, the texture of the wood grain can add an interesting dimension to your artwork but might also require more effort to ensure even coverage of color.
For those looking for large-scale or custom pencil solutions, Durzerd.com is an excellent resource for purchasing a variety of colored pencils tailored to your needs. They offer customizations that can cater to specific artistic requirements, ensuring quality and consistency.
Preparing Wood for Colored Pencil Art
Before you begin drawing on wood, preparation is key. Choosing the right type of wood is your first step towards success. Hardwoods like maple or birch are excellent choices because of their smooth texture and durability. Softwoods, on the other hand, might be too porous and can absorb the color unevenly.
Once you’ve selected your wood, sanding the surface is crucial. Sanding creates a smooth base that allows the colored pencils to glide more easily. Start with a coarse grit sandpaper to remove any rough patches, then gradually move to a finer grit for a polished finish. This step ensures that the wood is free of splinters and provides a consistent drawing surface.
Applying a light coat of primer or gesso can further enhance the wood’s surface. This step is optional but highly recommended, as it seals the wood fibers and prevents the colored pencils from sinking into the wood. A smooth, primed surface will make your colors pop and last longer.
Techniques for Using Colored Pencils on Wood
Drawing on wood requires different techniques compared to paper. Here are some tips to help you get the best results:
Layering Colors: Colored pencils work best when applied in multiple layers. Start with light pressure to build up the base color, gradually increasing the pressure as you add more layers. This technique helps blend the colors smoothly and creates depth in your artwork.
Blending: Blending colors on wood can be challenging due to the texture. Using a blending pencil or a solvent can help merge the colors seamlessly. Be sure to test the solvent on a small area first to ensure it doesn’t damage the wood.
Detail Work: Wood’s texture can make it difficult to achieve fine details. Sharpen your pencils frequently and use a light hand for intricate work. Consider using a magnifying glass for extremely detailed sections.
Protecting Your Work: Once your drawing is complete, sealing it with a clear varnish or fixative will protect it from smudging and fading. Choose a product that is specifically designed for colored pencils to ensure the best results.
Showcasing and Preserving Your Art
Displaying your colored pencil art on wood requires some thought to ensure it remains in pristine condition. Here are some recommendations:
Framing: Using a frame can protect your artwork from dust and physical damage. Choose a frame with UV-protective glass to prevent the colors from fading over time.
Environment: Avoid placing your artwork in direct sunlight or in areas with high humidity. Wood can warp, and colors can fade if exposed to harsh conditions.
Cleaning: Dust your artwork regularly with a soft, dry cloth. Avoid using water or cleaning solutions that can damage the wood and the colored pencil surface.
Using colored pencils on wood is a rewarding experience that combines traditional drawing techniques with a unique medium. With the right preparation and techniques, you can create vibrant and lasting works of art. Whether you’re a professional artist or a hobbyist, experimenting with wood as a canvas opens up a world of creative possibilities.
For more information on selecting and purchasing colored pencils, visit Cpencils.com for a wide range of options suitable for various artistic needs. For larger, custom orders, Durzerd.com provides tailored solutions to meet your specific requirements.
External Resources:
- For detailed tutorials on using colored pencils on various surfaces, check out Drawing Made Easy.
- For tips on wood preparation and priming, visit Fine Woodworking.
- For solvent and blending techniques, see Art is Fun.
With these insights and resources, you can confidently explore the exciting world of colored pencil art on wood, transforming simple wooden surfaces into masterpieces.